Over my winter break, I found myself in search of a new hobby. One thing that came to mind was brewing kombucha, a delicious but expensive fermented tea beverage that you can probably find sold at your local yoga studio, Whole Foods, or co-op. At $4 a bottle or $5 on tap, it was not something I indulged in very frequently, but after an initial investment in the supplies to make it myself, I knew I could easily be drinking kombucha daily for a fraction of the cost!
I spent hours reading and learning as much as I could about the kombucha brewing process, which I think now was probably not necessary given how easy it is to make. Finally, when I got back to school, I got all the materials I needed, and set to work. I now brew about two gallons a week and it goes fast!
Here’s everything you need to brew your own kombucha:
- A kombucha SCOBY (can be purchased online or gotten from a friend who is currently brewing)
- A 1-gallon container made of glass or another non-reactive material, like ceramic. It should be about as wide as it is deep, like this one.
- Jars or bottles for your finished product
- A tight-knit cloth (t-shirt material works great)
- Tea
- Sugar
And that’s it! It is really incredibly simple. These instructions follow the brewing of kombucha from a previous batch. If you are brewing for the first time, skip to the tea preparation!
First, you’ll remove your SCOBY from your brewing vessel to clean it off. Rinse your hands well with water and/or vinegar (raw apple cider vinegar is best). Make sure your SCOBY doesn’t come into contact with any antibacterial soaps or reactive metals, which will hurt it. Rinse it under warm or cold water to take off any dead yeast strands that might be hanging around.
Set your SCOBY aside in at least 1 cup of mature kombucha from your previous batch (if you have a SCOBY but no starter fluid, you can substitute 1/2 cup of vinegar as a starter). The acidity of the mature kombucha protects your brew from growing mold on top.
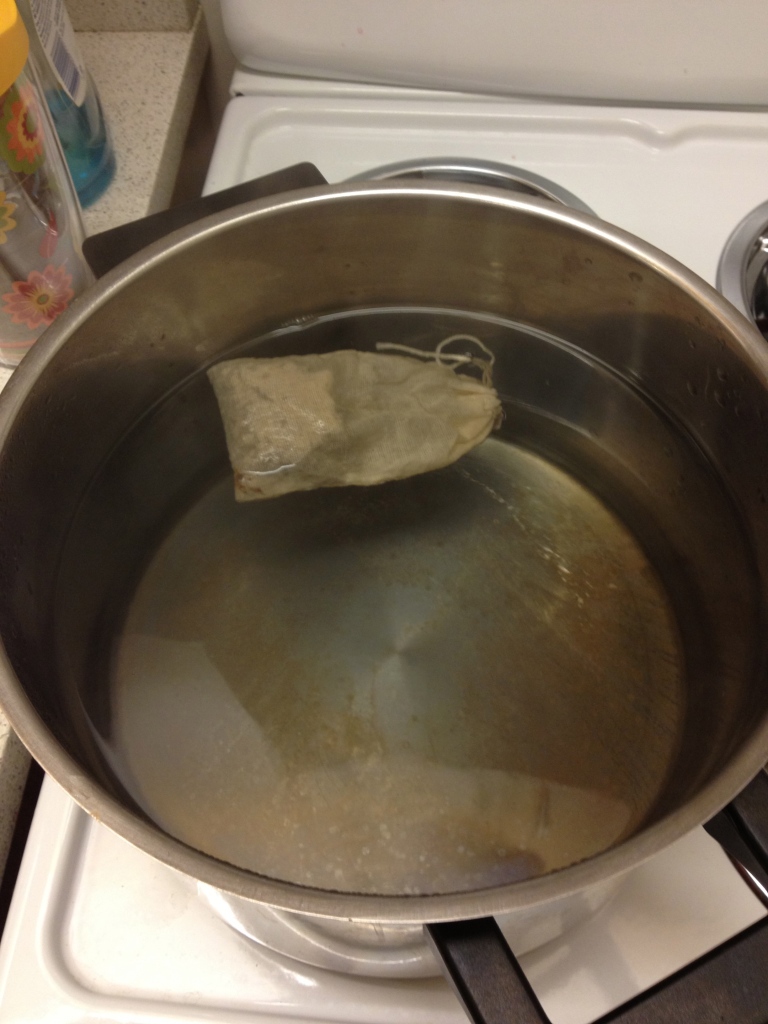
Now, prepare your next batch of tea. Boil a gallon of tap water for at least 10 minutes to evaporate all of the chlorine and other dissolved gases from the solution. Then, add a few teaspoons or teabags of tea to the water. I usually use 4-6 teaspoons of black tea and occasionally some yerba mate, green, or white tea too. The SCOBY feeds off the nutrients and caffeine in black tea, and it makes the best kombucha, although feel free to experiment with mixtures or different types of tea to get the result you want. I leave the tea brewing for anywhere from 30 minutes to overnight; the bitterness you’d usually experience is taken away through the brewing process.
Add 1 cup of sugar to your gallon of tea. Do not forget this step! The yeast in your SCOBY needs sugar to survive! Do not use an artificial sweetener such as splenda or try to skimp on sugar to save calories. Much of the sugar is consumed by the yeast throughout the brewing process so many calories will disappear!
Once you’ve prepared your tea mixture, let it cool to body or room temperature, then add your SCOBY. If you put a SCOBY in water that is too hot, it will die.
Fit the top with a piece of tightly woven cloth, so that flies and other intruders cannot get in and lay eggs, but air can continue to flow across the surface of the tea.
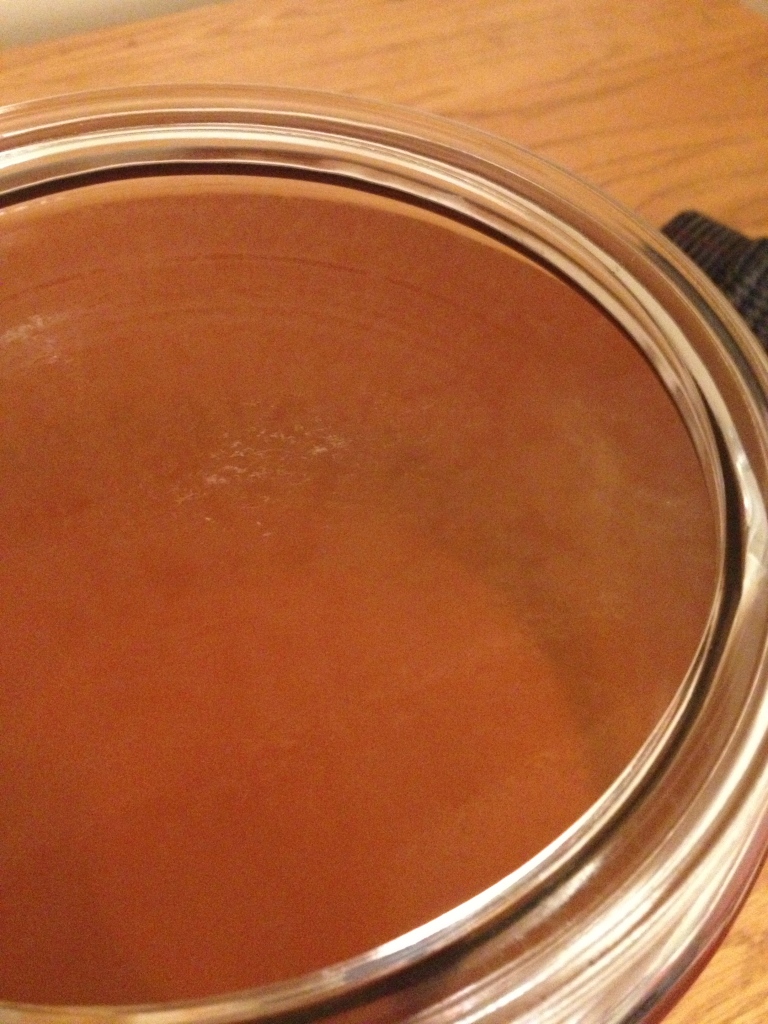
And you’re done! Let it sit for about a week, until the color changes and it tastes right (not to sweet, not too acidic) and then you will be ready to bottle it! Over the course of this week, a new SCOBY will start to grow on the surface of your jar. Keep checking on your brew! It’s really exciting to see the SCOBY develop over the next several days. Here’s some of the progression of the growth of my first SCOBY:
It looks a little funky, but unless you get green and blue, moldy looking spots on the surface of your brew, you’re doing fine!
Stay tuned for a post on bottling your brew!


Pingback: Ingredients For The Perfect Kombucha Cuppa | Making Kombucha Tea
This is so easy to do and tastes much better than commercial kombucha!
Pingback: Kombucha | eatdat
Pingback: Tonica Kombucha & why you should try it - Andrea the Gastronaut